
Home / How it works
Kitchen table to lab bench.
You take impressions at home and mail them back. We do the rest, and you can watch every step.

01
Your kit arrives.
Two tray sizes, putty, a video guide and a prepaid mailer.
02
Ten minutes of impressions.
Mix, press, hold. Unsure? Send a photo from your portal and we’ll check it before you mail it. Free retakes.

03
Dentist review, where required.
A licensed dentist reviews your impressions and health answers before anything is made, if your state requires it.

04
Poured, made, fit-checked.
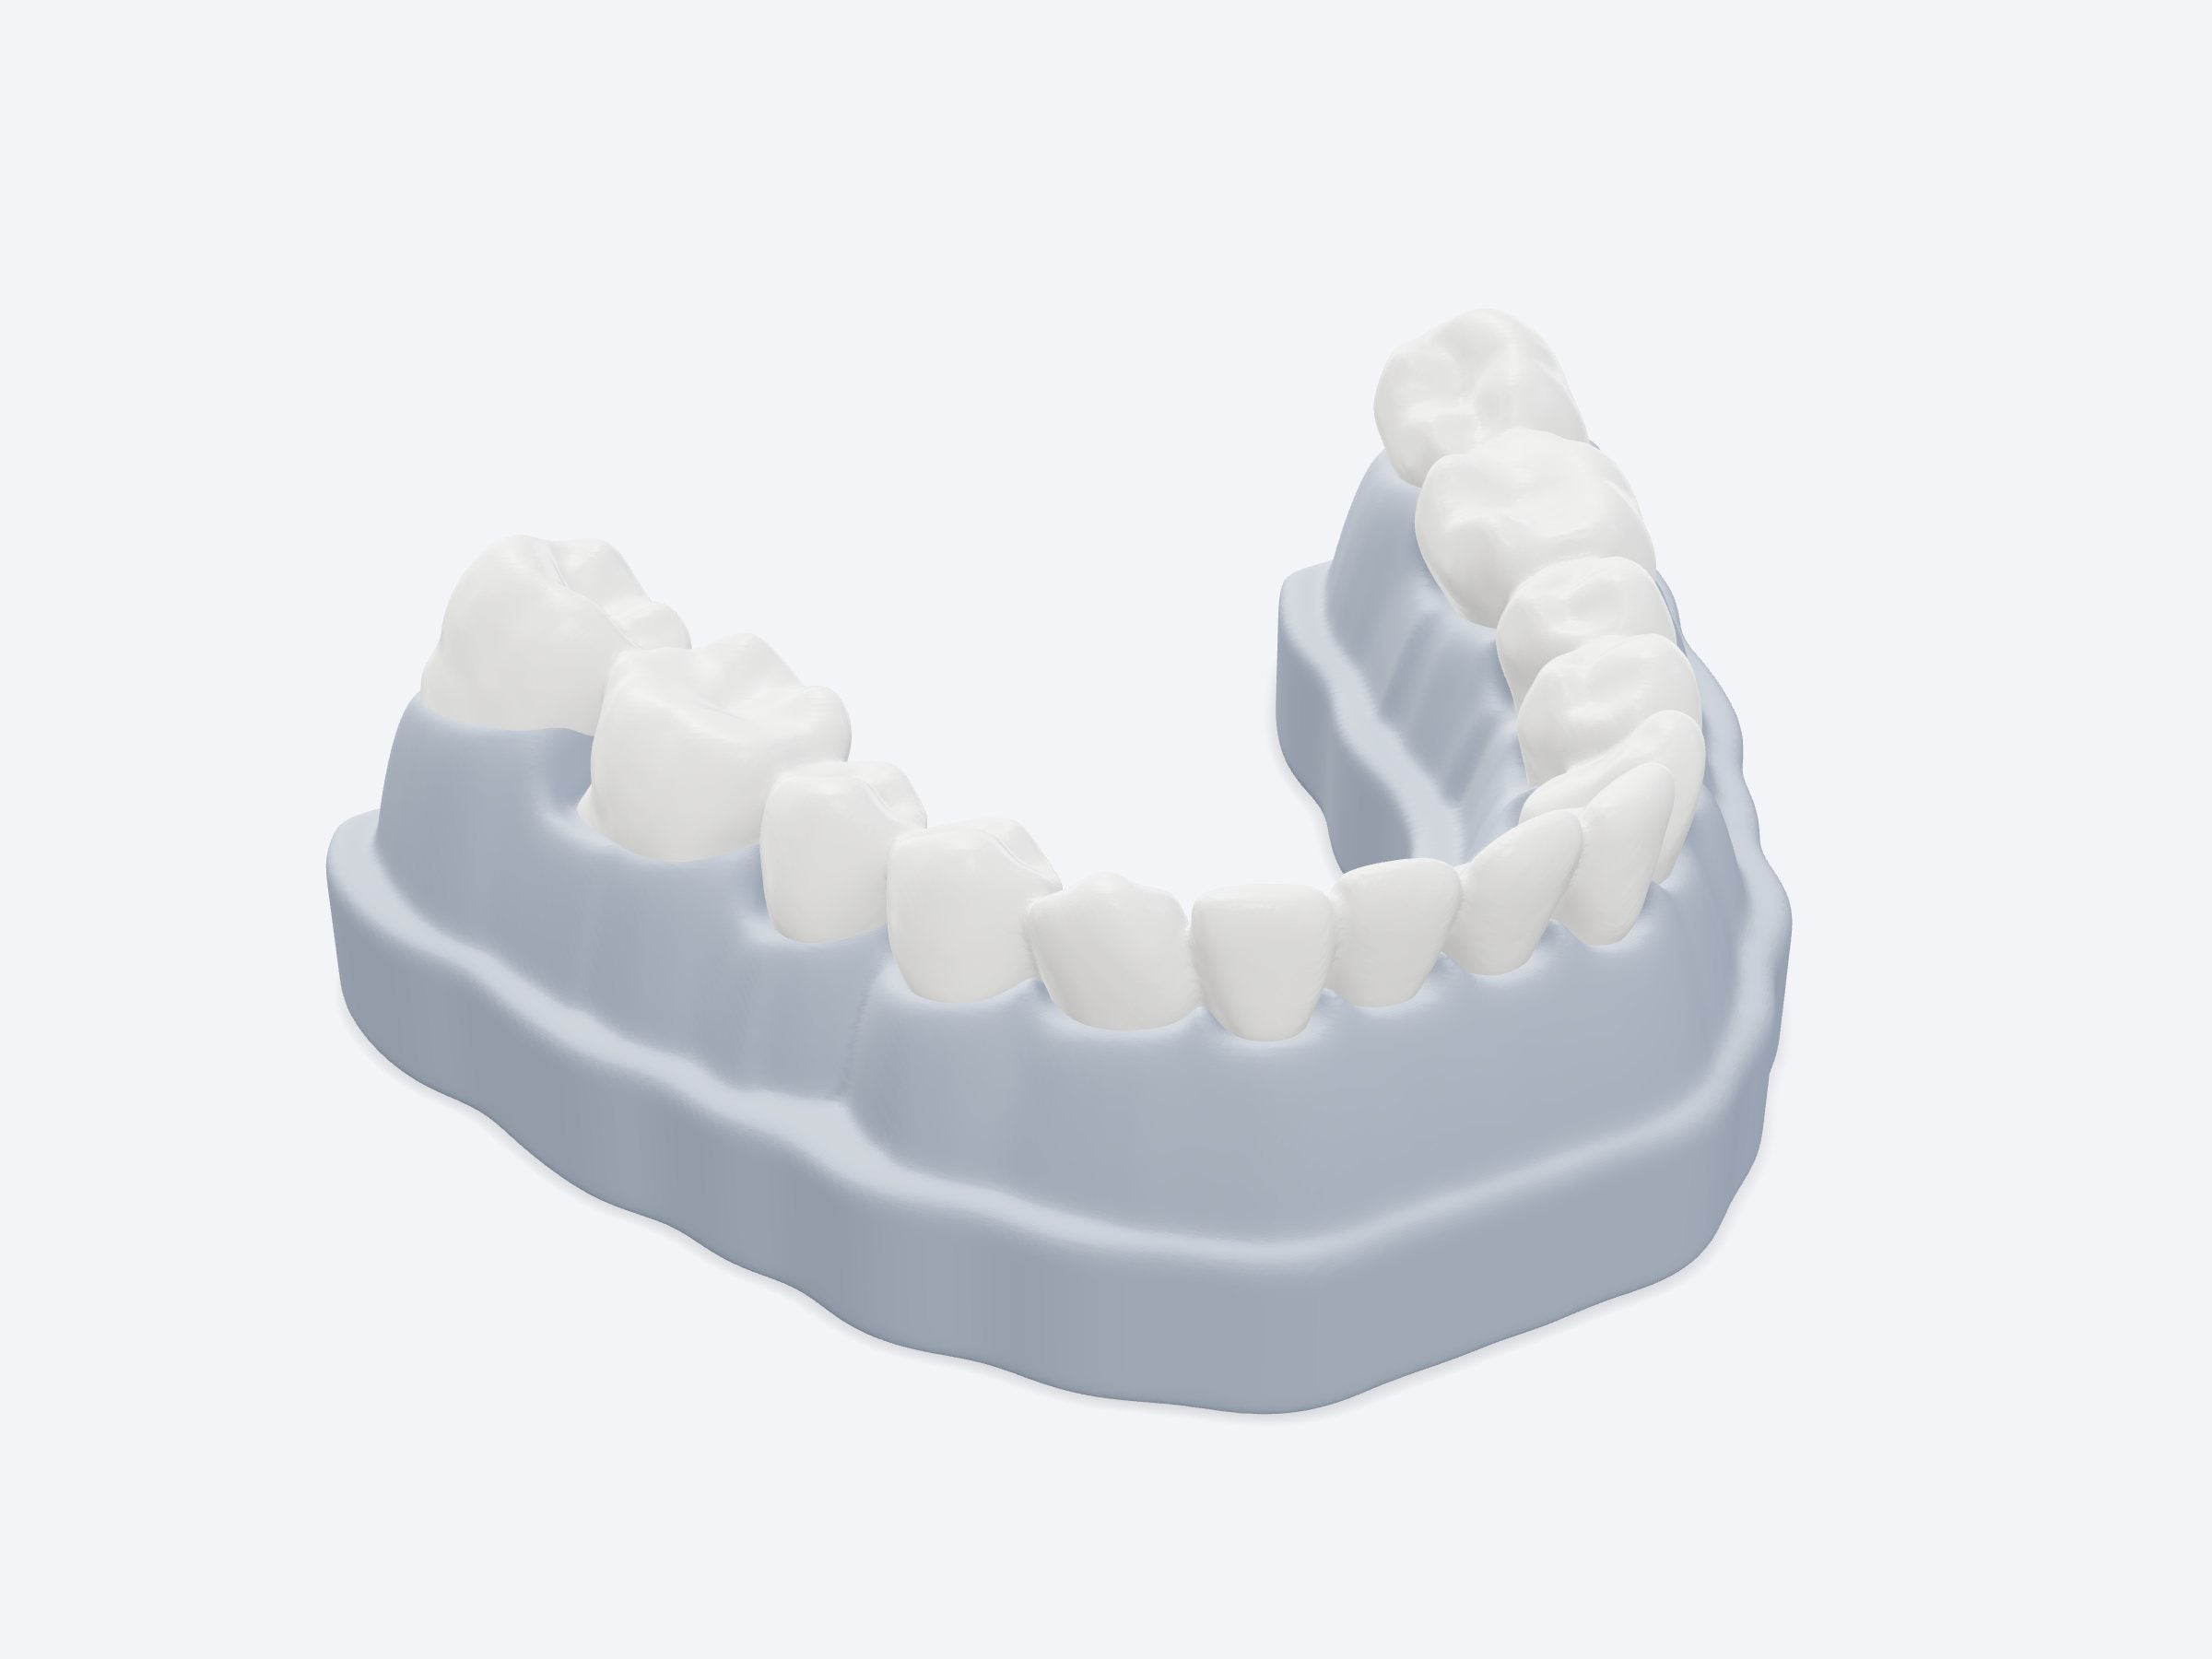
We pour a stone model from your impressions. Retainers are formed on it; night guards are 3D printed from a scan of it. Each one is finished by hand and fit-checked on that same model.
05
Scanned, so you can reorder.
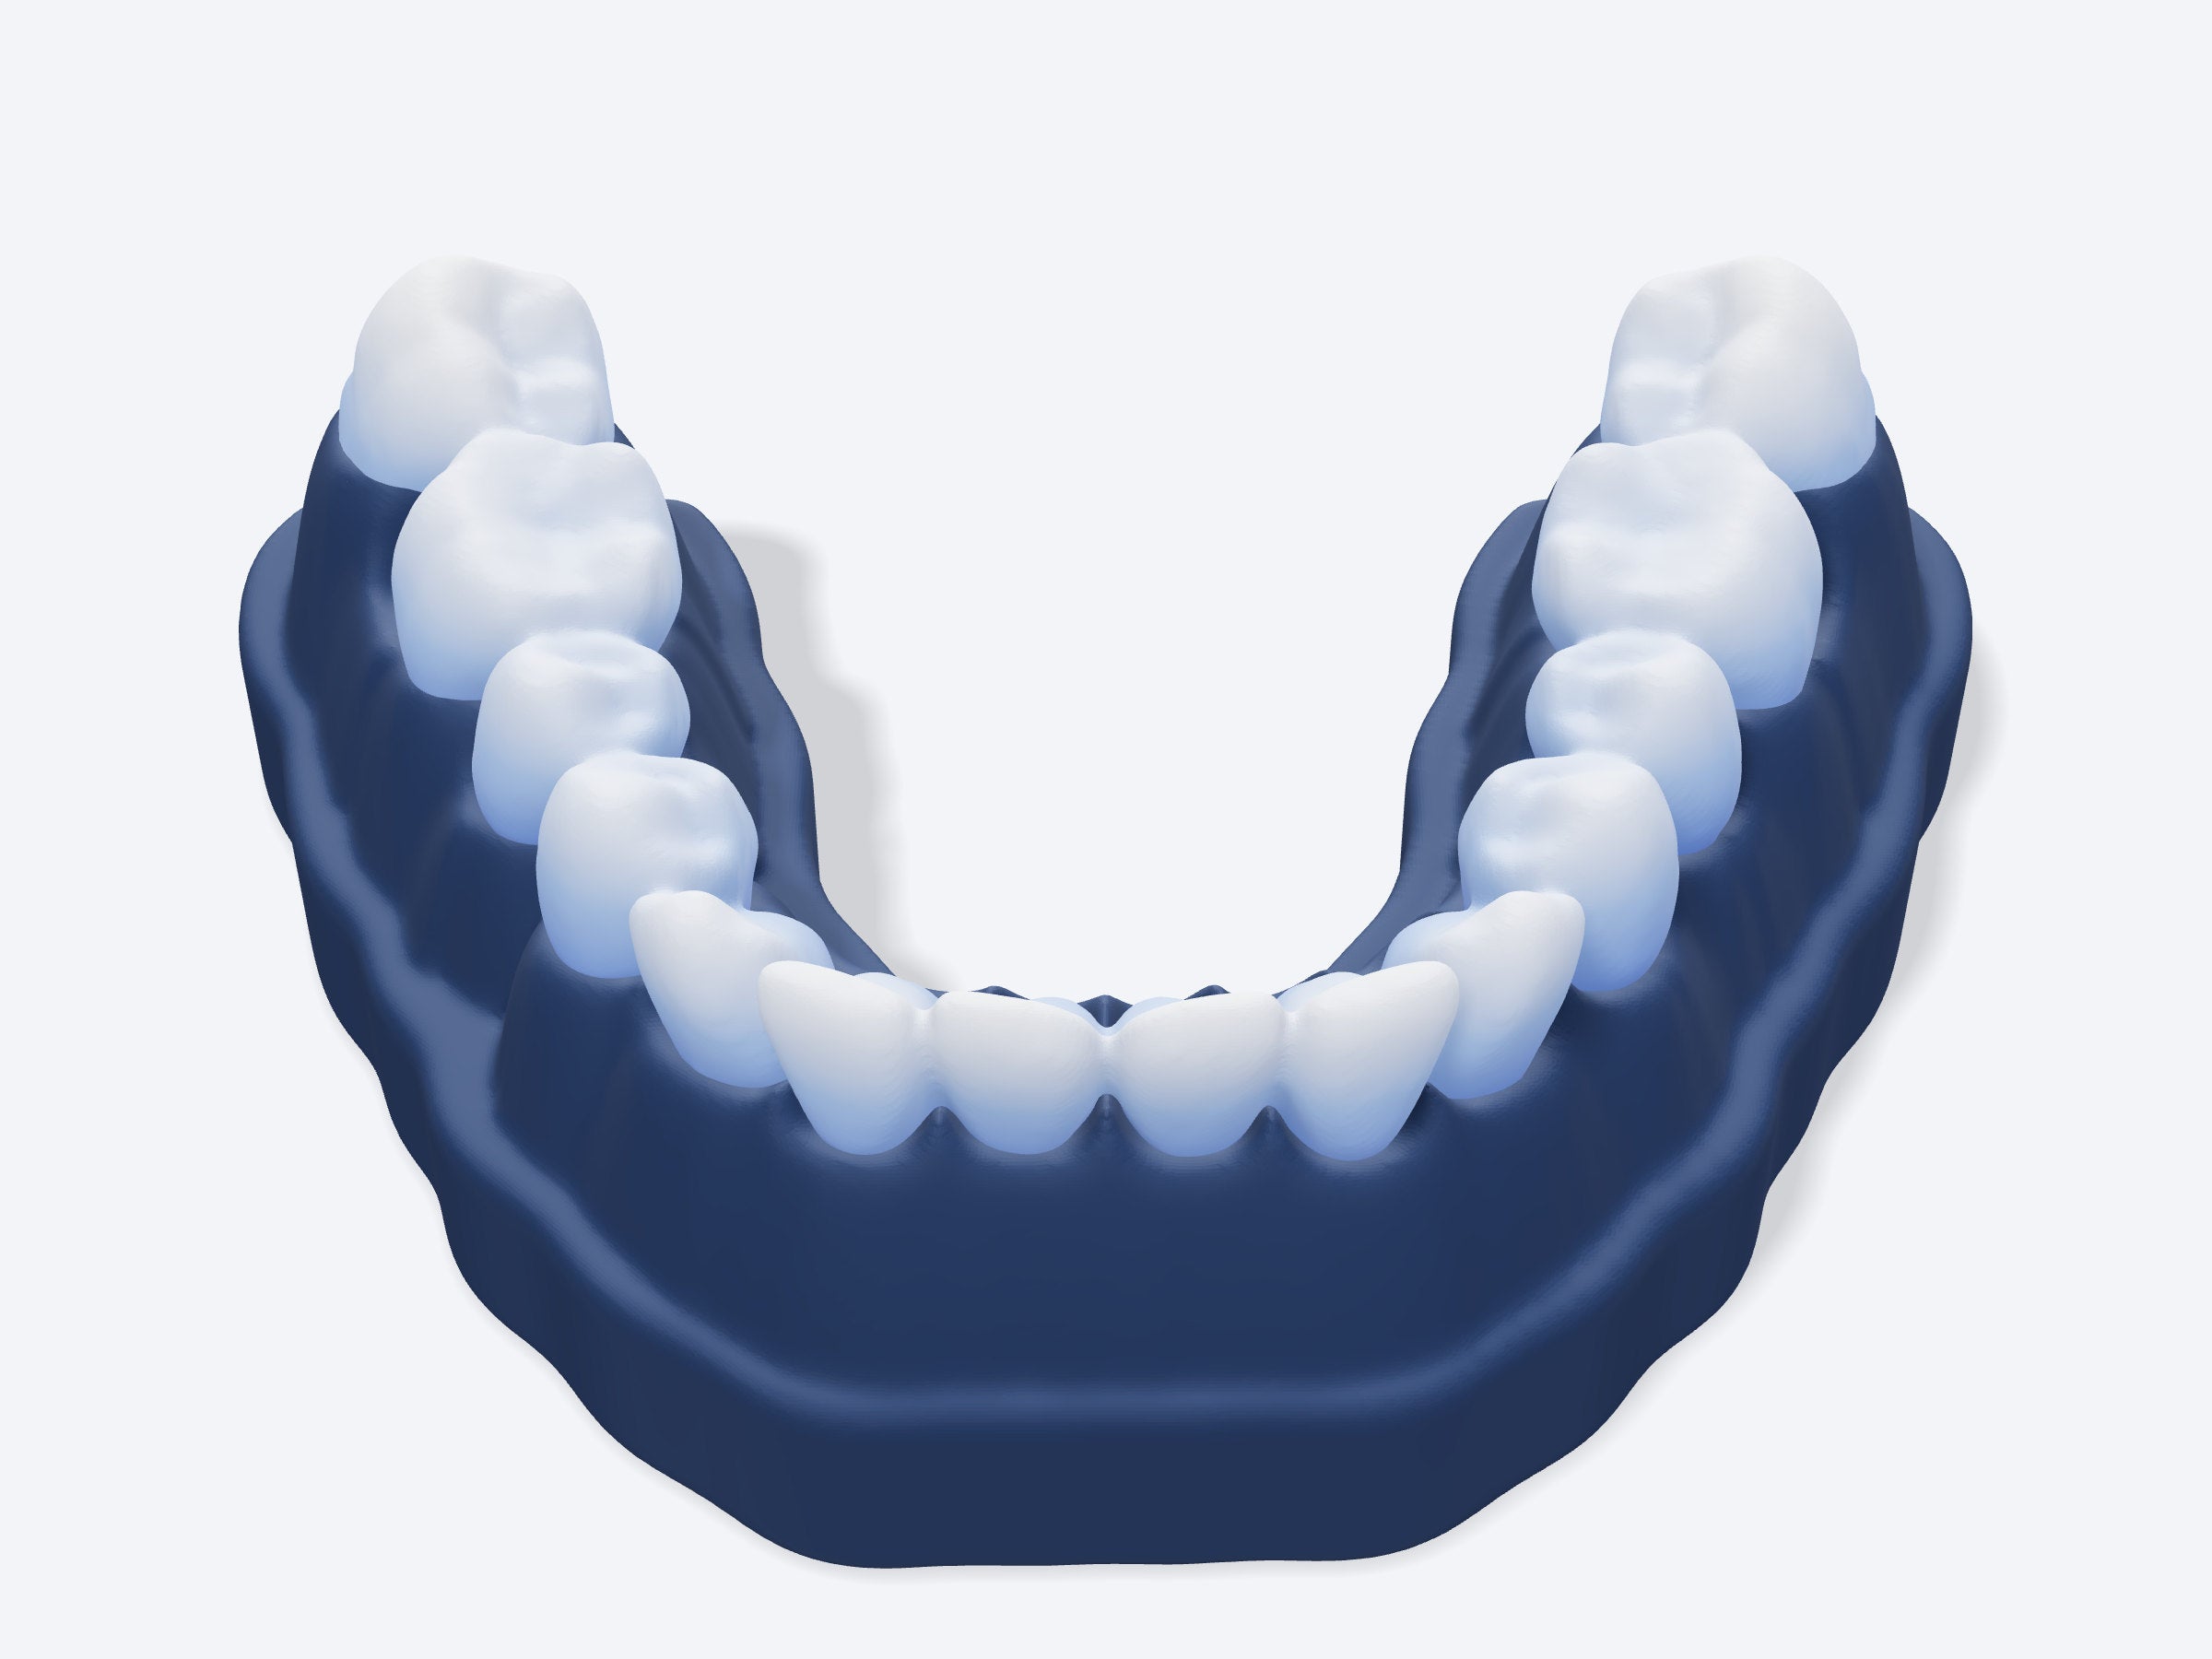
Your model is scanned and kept on file. Reorder without new impressions, or download your file.
Always know where your case is.
Every kit gets a case ID. Enter one to preview the steps your portal will show. Try TB-10482.
Demo · sample case data
- Order placed
Health answers receivedorder_placed - Kit shipped
Tracking emailedkit_shipped - Impressions received
Checked the day they arriveimpressions_received - Quality check passed
Clear and completeqc_passed - Dentist review
Where your state requires itrx_pending → rx_approved - Stone models poured
Labeled with your case IDstones_poured - Scanned to 3D
Kept on file for reordersscanned - Formed and fit-checked
Hand-trimmed on your modelthermoformed - Shipped
Tracking emailedshipped
Your impression, step by step.
Read every step before you start. The timer runs in your browser.
Demo · runs in your browser
Step 0 of 5
Get ready
Wash your hands, brush, and dry your teeth with a tissue. Lay out the trays, putty and the timer.
Do it at a table, not over the sink.
Step 1 of 5
Test the trays
Try both tray sizes before mixing. The right one covers your back teeth without pinching your cheeks.
Use the size the fit check suggested, if you did it.
Step 2 of 5
Mix the putty
Knead one base and one catalyst scoop together until there are no streaks.
About 15 seconds. Work quickly.
Step 3 of 5
Press and hold
Seat the tray evenly over your teeth, press gently, and hold still until the timer ends.
Breathe through your nose. Don’t bite down hard.
Step 4 of 5
Check it
Every tooth and a little gum should show clearly. Send a photo from your portal if you’re unsure.
Bubbles or missing teeth? Use the retake putty.
Step 5 of 5
Pack and mail
Put both impressions in the bag with your case ID card and drop the prepaid mailer in any mailbox.
Mail within 24 hours.
You did the hard part.
We’ll help it stay that way. Start with a kit; reorders after that take one click.
Get started